How to deploy a NextJS app To Fleek.xyz: a step-by-step guide for developers
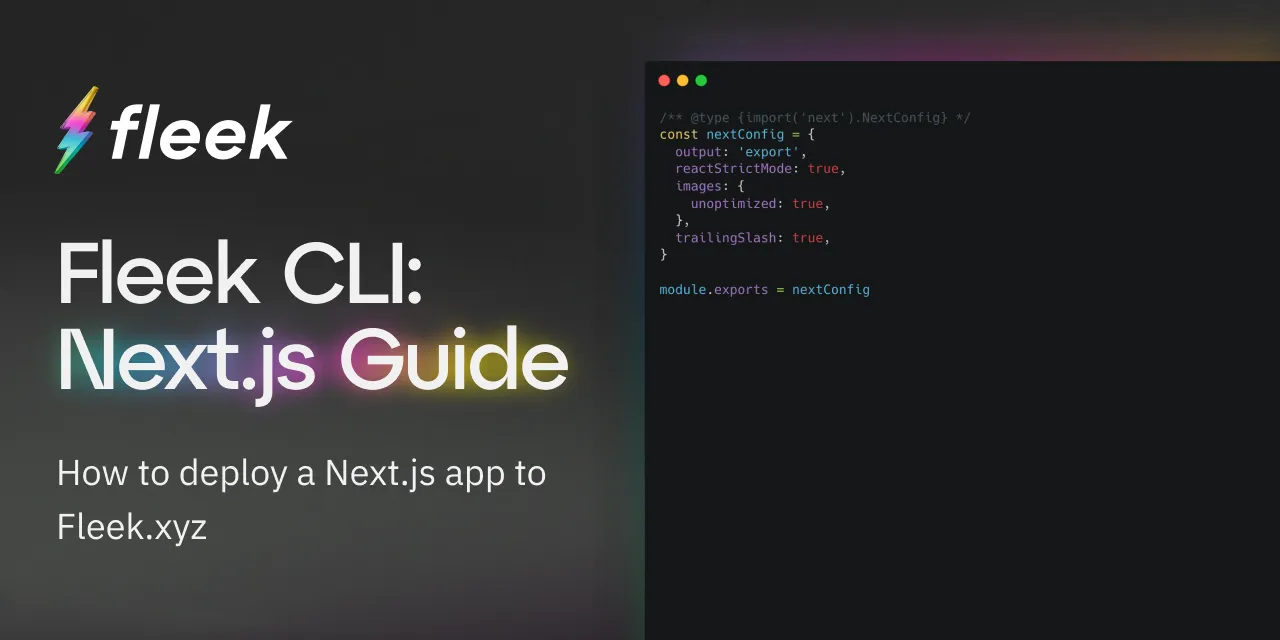
The Fleek.xyz platform empowers developers to build lightning-fast web apps, and services that are edge-optimized for performance. In this detailed guide, you’ll learn how to deploy a Next.js web app onto Fleek using the Fleek CLI.
What is NextJs?
Next.js is a React framework that simplifies the creation of server-rendered React applications. It offers features like automatic code splitting, route pre-fetching, and built-in support for server-side rendering and static site generation, enabling faster, more SEO-friendly web development.
Requirements:
- Fleek account
- Fleek CLI installation (preferably - v2.9.0)
- GitHub account
- NodeJS 18+( preferably - v18.17.0)
Let’s get started:
Create A New NextJs Project
The first thing we’ll do will be to set up our NextJS project.
To create a new NextJs project open your terminal, cd into the directory of your choice, and run the following command:
git clone https://github.com/fleekxyz/nextjs-template.git
💡 This code takes the NextJS template from the Fleek.xyz template library and automatically kickstarts your project. You can access an expanding library of other application and framework templates, including Lens, Astro, React, and more here.
Start Up Your Dev Server
After cloning, we’ll need to cd into the directory we created and start our dev server. To do that while still in our terminal, run the following command:
cd nextjs-template && npm i && npm run dev
This will start up the NextJS web app. We can visit it by opening http://localhost:3000 on our web browser.
Now that we have a fully functional NextJS web app we can proceed to the next step— getting configurations ready for our Fleek deployment.
Fleek Deployment Preparation
To successfully deploy our project on Fleek.xyz we must ensure that we are able to produce static files and add the appropriate configuration to the app.
The first thing we need to do is ensure our app builds out the static pages for our NextJS project. If next.config.js (in the root of the cloned template) doesn’t contain the line:
output: 'export',
Then add it so the configuration looks like this:
/** @type {import('next').NextConfig} */
const nextConfig = {
  output: 'export',
  reactStrictMode: true,
  images: {
    unoptimized: true,
  },
  trailingSlash: true,
};

module.exports = nextConfig;
This line of code will create a new folder called out for when we build our NextJS app.
Next, run the npm run build command. This will compile our NextJS project, and produce the corresponding HTML code into a folder called out.

Once we’ve successfully built our app, we can start the deployment process.
Fleek Deployment
Fleek Account Creation
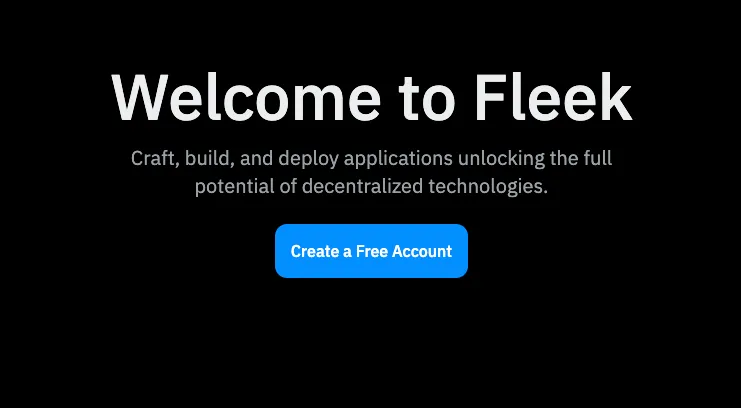
The first thing we’ll need to do is create a Fleek account: head over to fleek.xyz, and click on the Create a free account button.
💡 Feel free to skip this step if you already have an account on Fleek.xyz!
You’ll be prompted to create an account with your wallet or an email address. For the sake of this tutorial, we’ll be making an account using our MetaMask account.
Click on the Metamask option from the wallet list and you’ll be presented with a sign-in request in your browser extension. This is to verify ownership of your account.
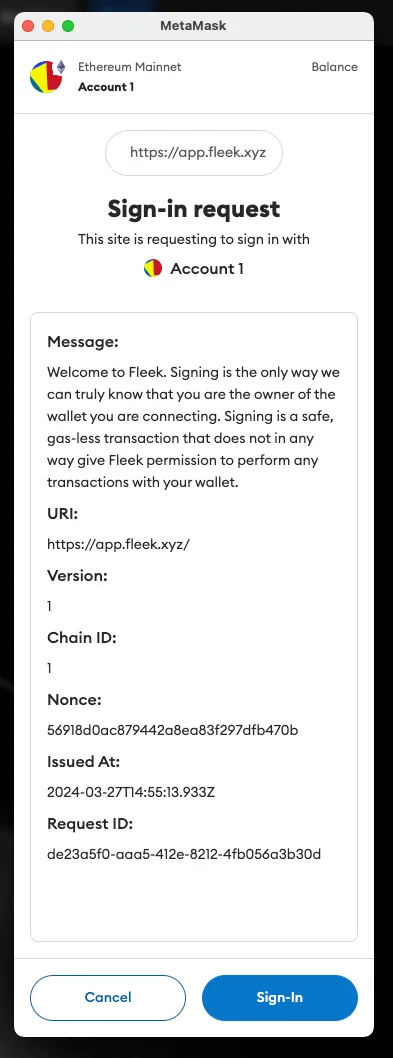
Once you click on the Sign in button, you’ll be redirected to the Fleek dashboard.
Fleek CLI installation
As we are deploying the website using the fleek-cli, our next step will be to install the fleek-cli on our computer.
Open up your terminal and run:
npm install -g @fleek-platform/cli
This will globally install the fleek-cli onto your machine. Once installed, log into your Fleek account via the CLI. This will enable us to run CLI-related commands directly from our terminal.
To login, open your terminal and run:
fleek login
Click on the link displayed to log into your Fleek account. You should see a Success! You are now logged in to the Fleek Platform.

Configurations
Now that we’ve successfully logged in, it’s time to get our app ready for deployment on Fleek.
To do that, you’ll need to open up your terminal and run:
fleek sites init
You’ll get a few prompts, populate them as you wish:
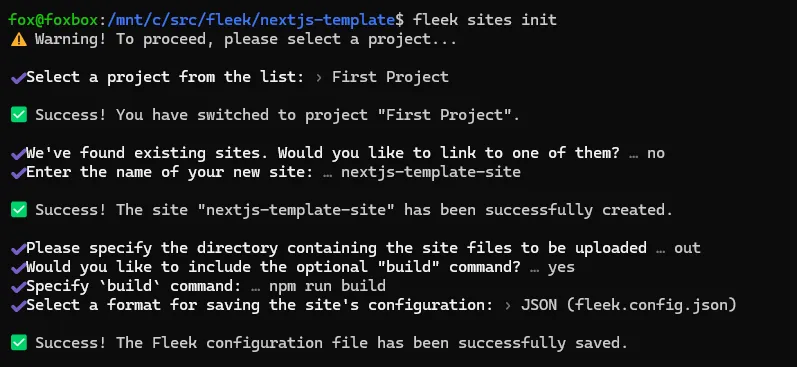
The following paragraph shows the values entered above:
- Select a project from the list:
First project- Note: you may only receive this prompt once after first using
fleek login
- Note: you may only receive this prompt once after first using
- We’ve found existing sites. Would you like to link to one of them? ›
no- If there’s an existing site already with this name, it may ask if you want to link to this site. Please note that when you do this, you will overwrite everything on the previous site. Ensure that this is the outcome you desire, otherwise, select N and create a new site.
- Enter the name of your new site:
nextjs-template-site - Please specify the directory containing the site files to be uploaded: ›
out - Would you like to include the optional “
build” command?: ›yes - Specify
buildcommand: ›npm run build - Select a format for saving the site’s configuration: ›
JSON (fleek.config.json)
You should see:
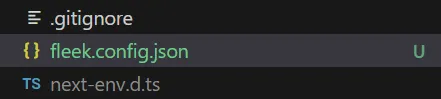
> Success! The Fleek configuration file has been successfully saved.
And a fleek.config.json file should appear in your root directory.
Deployment
We’re close to the finish line — the next step here will be to deploy our NextJS app to Fleek.
We’ll do that by running:
fleek sites deploy
You should get a response that looks like this
> Success! Deployed!
> Site IPFS CID: QmVgNN84eJMPoxznUEFmjAhkbhiKS8ic39zucNkWfux3ft

> You can visit through the gateway:
> https://ipfs.io/ipfs/QmVgNN84eJMPoxznUEFmjAhkbhiKS8ic39zucNkWfux3ft
Congratulations! Your site has been successfully deployed!
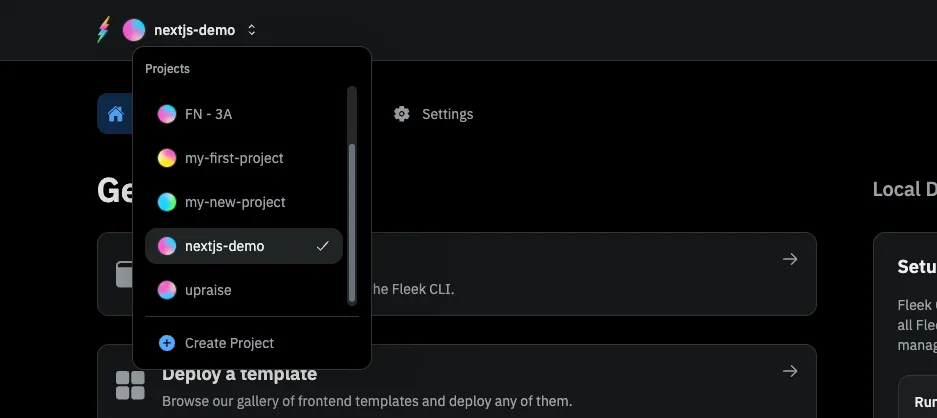
Now head over (authenticated) to the dashboard fleek.xyz/dashboard, and ensure you are on the right project (open the drop-down menu on the top left of the homepage and select the current project).
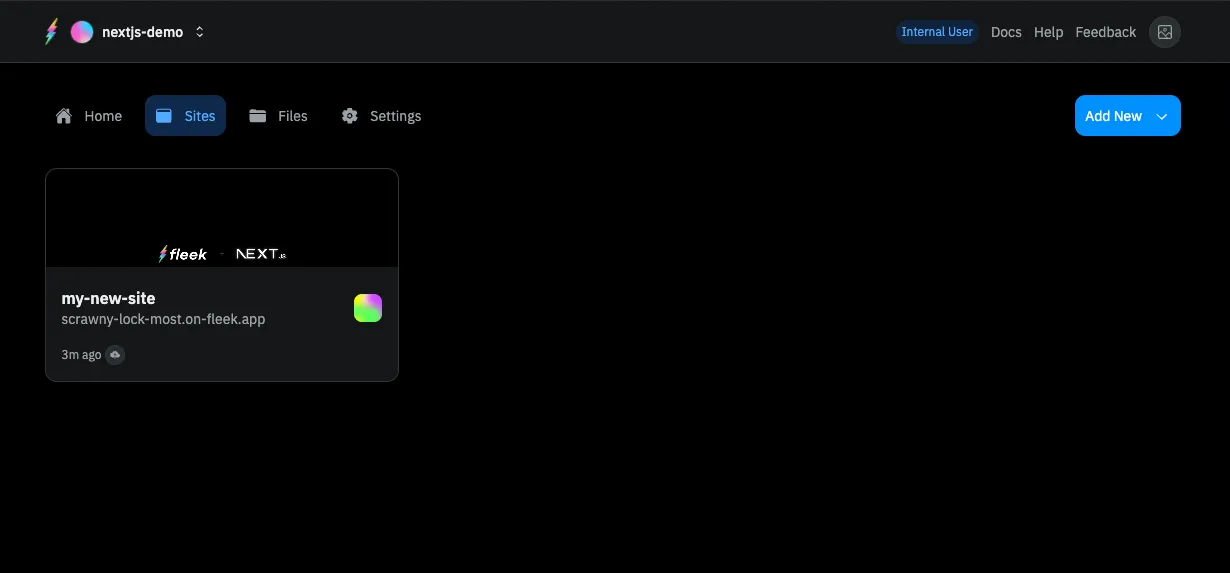
Click on Sites. Here, you should see your deployed site. If you’ve deployed more than one site into this project, they’ll all show up here:
Click on your deployed site. You should be brought to this page:
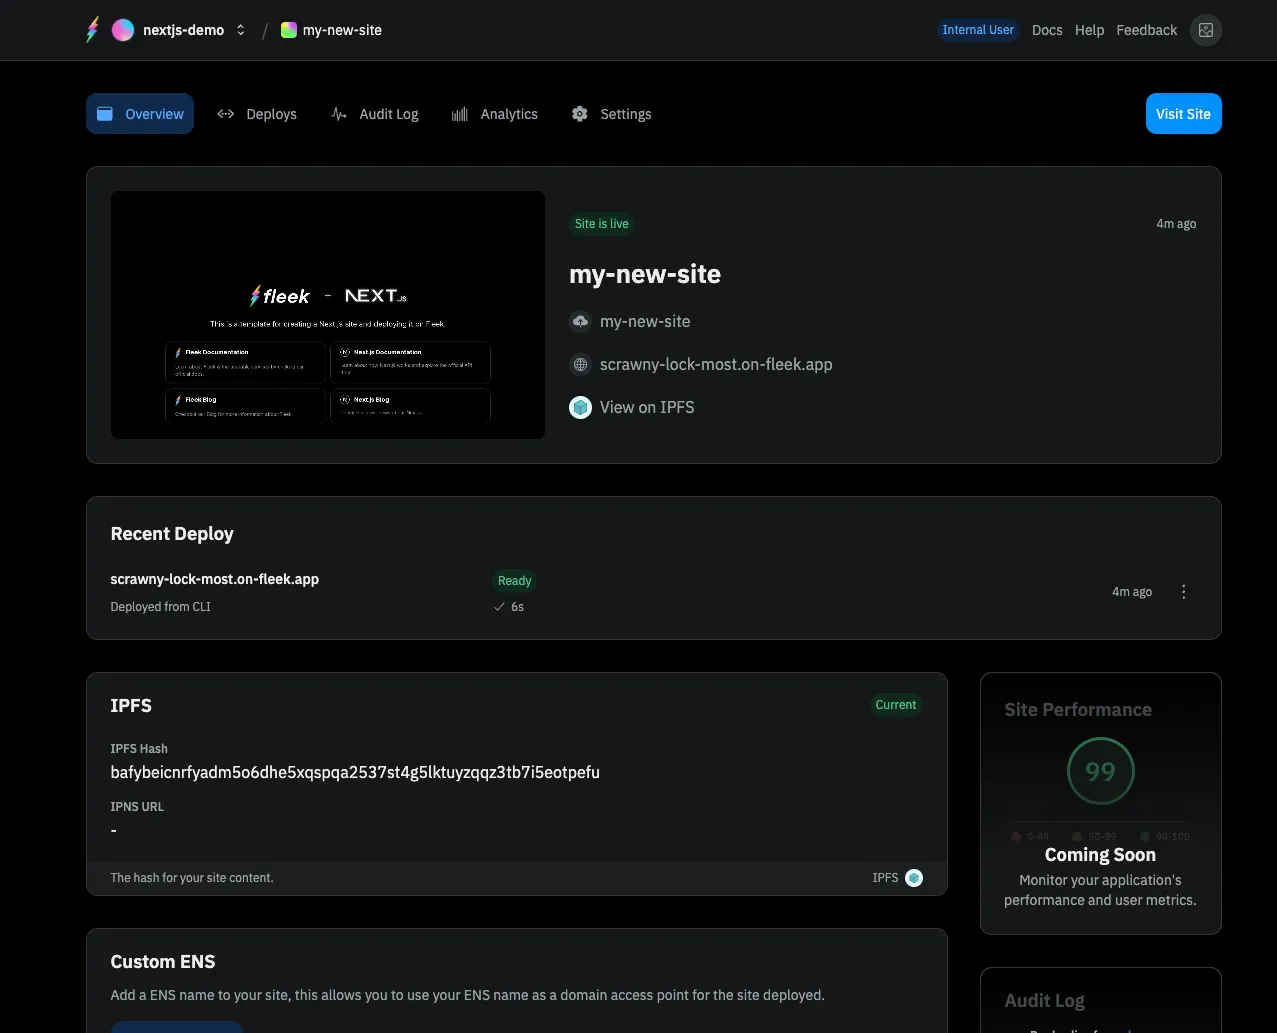
Click on the URL (For this example it’s https://scrawny-lock-most.on-fleek.app/ but yours will be different) and it’ll take you to your fully functional static NextJS blog!
From the Fleek.xyz dashboard, you have the ability to manage a custom domain or ENS address for your site, as well as see deployment history and quickly manage site settings.
Congratulations! You just deployed your NextJS blog to the Fleek.xyz platform. The basics from this guide can be taken and applied to any static NextJS app to deploy on Fleek.xyz
If you’d like to learn more about Fleek, visit our documentation page, join our Discord server, and stay up to date with us on X!
See you in the next guide 🤙
Resources:
- Understanding projects: https://fleek.xyz/docs/platform/projects/
- Sites: https://fleek.xyz/docs/cli/hosting/
- Fleek CLI: https://fleek.xyz/docs/cli/